 A few weeks ago, I saw a video posted on Facebook that demonstrated a method for dyeing Easter eggs that looked impossibly simple: wrapping eggs in colorful silk square, securing it with a twist tie, covering that with a cotton square, securing it again, and then putting the bundles into a pot of water with 1/4 cup of vinegar. Bring to a boil, wait 20 minutes, then remove the wrapped-egg bundles to cool. When you unwrap them, the patterns from the silk will have–allegedly–transferred to the eggs, creating beautiful patterns with minimal effort.
Here’s a link to the video: https://ourbestbites.com/silk-dyed-eggs-aka-tie-dyed/
Impossible! This has all the makings of an epic craft fail–but my daughters and I decided to give it a shot anyway. The result: a resounding success!!
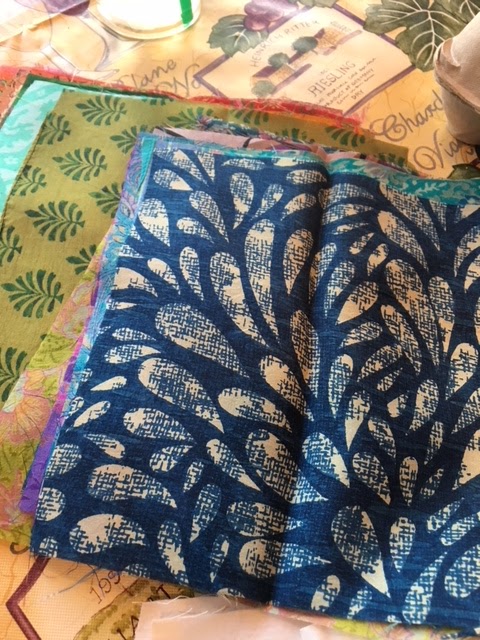
Although you can certainly track down silk material inexpensively at thrift stores (old ties and other silk clothing), I did a quick search on Etsy and found a store that sold the squares already cut, recycled from old saris. You can find the shop here: https://www.etsy.com/shop/RibbonsAndSilk?ref=l2-shopheader-name
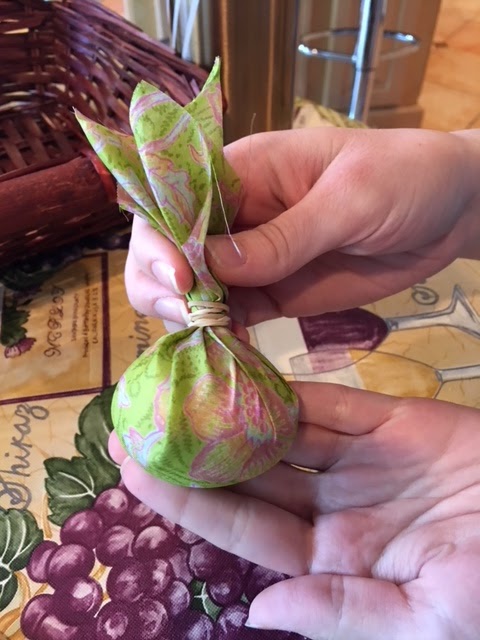
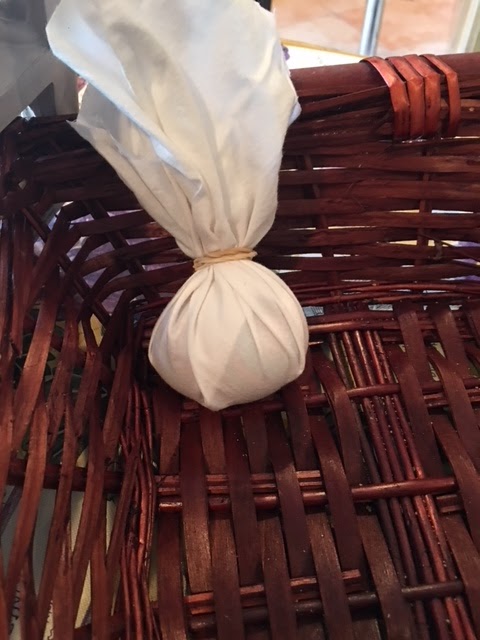
 The “how-to” couldn’t be simpler: you wrap raw eggs in squares of pure silk fabric, securing them at the top with a twist tie or rubber band. Try to allow the fabric to lay as flat as possible against the egg, to transfer as much of the pattern as possible. Then wrap the silk bundles in plain cotton squares, securing with another rubber band (I cut up an old bed sheet for this purpose).
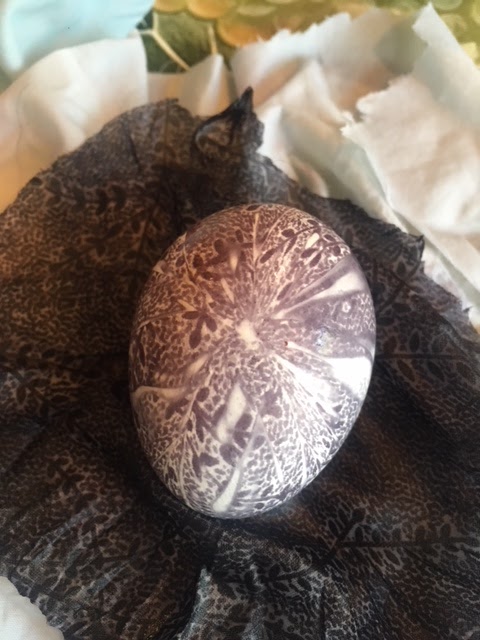
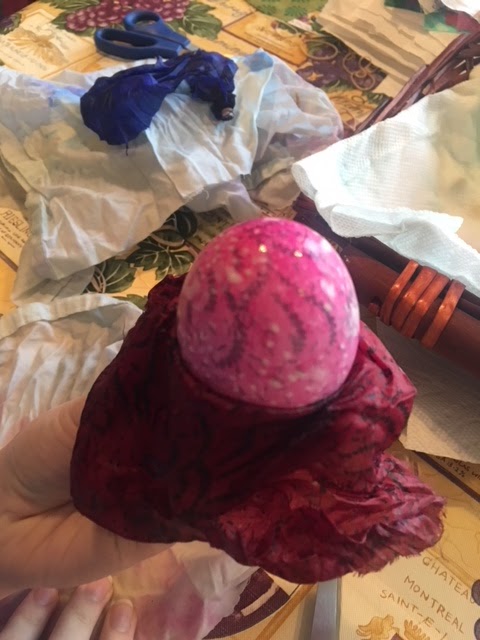
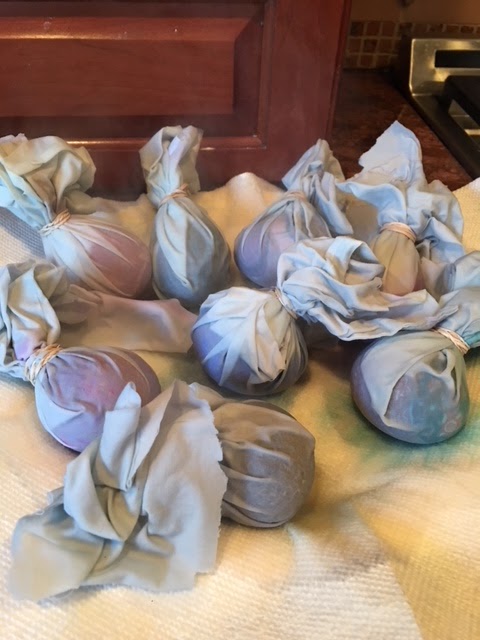
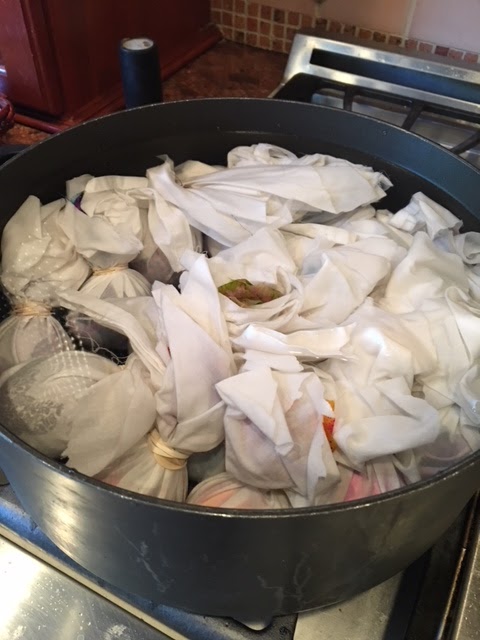
Once all the bundles are wrapped, immerse them in cold water in a large stockpot, and add 1/4 cup of vinegar. Bring to a boil, and allow to boil for 20 minutes. Then, remove from the water to cool and drain, then unwrap the bundles to reveal the patterns.
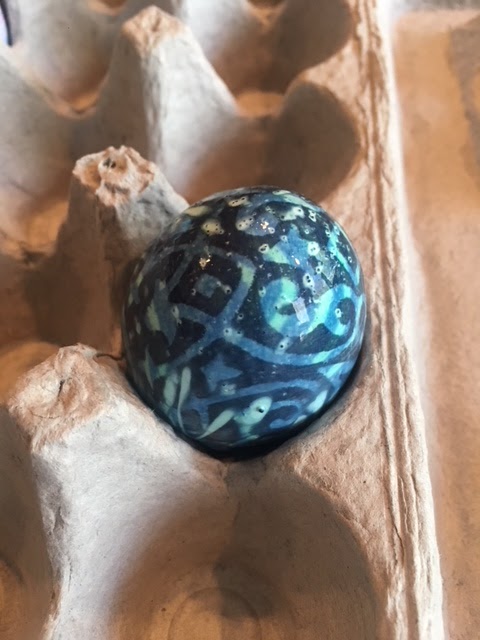
I cannot believe how great these turned out–super easy, gorgeous eggs with minimal effort. We’ll definitely be making these every year!